Key takeaways
- Insert the SSD into the slot at roughly a 30-degree angle, gold contacts facing the board, until it seats fully.
- Press the free end down flat to the standoff.
- Secure it with the tiny M.2 screw; do not overtighten, just snug. A screw kit like the ASTARON set ensures you have the exact size.
Installing an M.2 NVMe SSD is one of the easiest and most rewarding upgrades in PC building. There are no cables, the drive is the size of a stick of gum, and once it is in you get load times measured in seconds instead of the grind of a hard disk. The whole job takes about ten minutes if you know where the screw goes and how to enable the drive afterward.
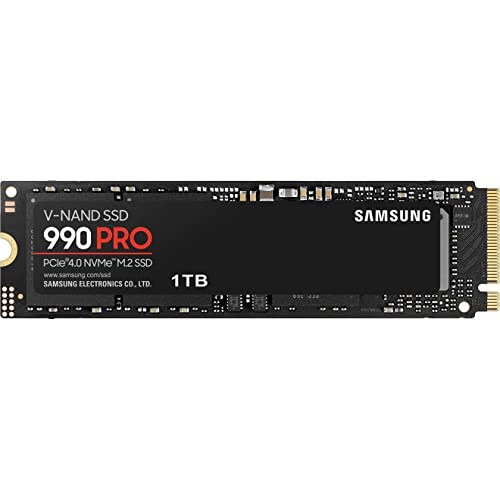
This guide walks through the physical install and the software steps that follow. Whether you are fitting a fast Samsung 990 PRO 2TB or a blazing WD_Black SN8100 PCIe 5.0 drive, a tiny mounting screw kit like the ASTARON M.2 set saves the frustration of hunting for the standoff screw that motherboards love to omit.
Our top picks
 Samsung SSD 990 PRO 2TB
- Product Group: Personal Computer
- Binding: Personal Computers


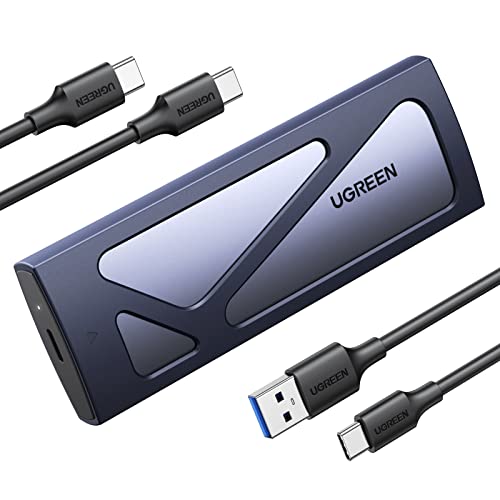
As an Amazon Associate we earn from qualifying purchases at no extra cost to you. Ratings are shown as listed on Amazon.
⚡ Save on Your Next PC — Amazon Prime
Prime members get fast free shipping on the systems above, plus early access to Prime Day & Black Friday PC deals. New members get a 30-day free trial.
Watch: How to Install an M.2 NVMe SSD — Video Review
Find the Right M.2 Slot
Check your motherboard manual, because slots differ. The top slot is usually wired directly to the CPU for the fastest PCIe lanes; use it for your primary drive. Confirm the slot supports NVMe (most do) and note whether it is PCIe 4.0 or 5.0 so you know your drive’s ceiling. Remove any heatsink cover first.
Seat and Screw the Drive
- Insert the SSD into the slot at roughly a 30-degree angle, gold contacts facing the board, until it seats fully.
- Press the free end down flat to the standoff.
- Secure it with the tiny M.2 screw; do not overtighten, just snug. A screw kit like the ASTARON set ensures you have the exact size.
Reattach the Heatsink
Modern Gen4 and Gen5 drives run warm, so use the motherboard’s M.2 heatsink. Peel the plastic film off the thermal pad before pressing the heatsink down, a step people forget that leaves the pad useless. This keeps the drive from thermal throttling during long transfers or game loads.
Initialize and Format in Windows
A brand-new drive will not appear in File Explorer until you initialize it. Open Disk Management, choose GPT when prompted, create a new simple volume, and format it as NTFS. For a boot drive instead, install Windows onto it directly and let the installer handle partitioning.
Tips
- Touch a metal part of the case first to discharge static before handling the drive.
- Use the CPU-connected top slot for your OS or main games drive to get full bandwidth.
- Never skip peeling the thermal pad film; it is the number one cause of hot new drives.
- If the drive does not show up, check Disk Management before assuming it is dead.
Frequently Asked Questions
Do I need to install drivers for an NVMe SSD?
Windows 10 and 11 include NVMe drivers by default, so the drive works immediately. You only need the manufacturer’s toolbox software for firmware updates and monitoring.
Why doesn’t my new SSD show up?
New drives are uninitialized. Open Disk Management, initialize as GPT, and create a volume. Until you do, the drive is invisible in File Explorer even though it is installed correctly.
Which M.2 slot should I use?
Use the slot the manual lists as CPU-connected, usually the top one, for your main drive. It offers full PCIe bandwidth; chipset-connected slots can share lanes and run slightly slower.
Do I really need the heatsink?
For fast Gen4/Gen5 drives, yes. Without cooling they can thermal-throttle during sustained writes. Slower Gen3 drives are more forgiving, but the heatsink never hurts.
Conclusion
Fitting an M.2 NVMe SSD is a ten-minute upgrade with an outsized payoff in load times and responsiveness. Find the CPU-connected slot, seat the drive at an angle and screw it down gently, remember the thermal pad film, then initialize it in Disk Management. Do those steps in order and you will wonder why you waited so long to leave hard drives behind.