Key takeaways
- A pea-sized dot in the center of the CPU is the reliable all-purpose method for most chips.
- For large or rectangular CPUs, a thin line or a small cross helps spread coverage evenly.
- More is not better; excess paste squeezes out the sides, insulates, and can create a mess.
Thermal paste is the unsung hero sitting between your CPU and its cooler, filling the microscopic gaps so heat can flow away efficiently. Apply it wrong, too little, too much, or unevenly, and you leave performance on the table with higher temperatures and throttling. Apply it right and your cooler works exactly as intended. The good news: it is easy once you know the method.
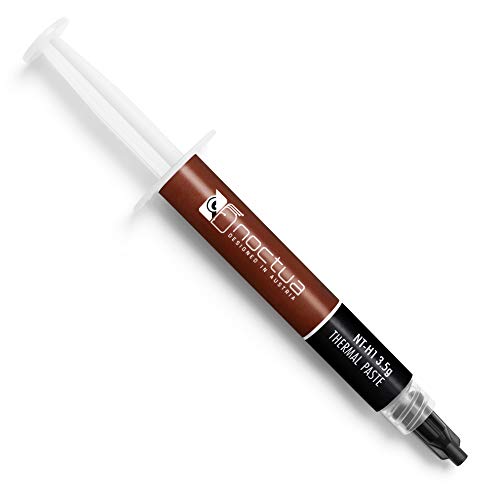
This guide covers cleaning, applying, and mounting for the best possible heat transfer. A quality paste like Thermal Grizzly Kryonaut or Noctua NT-H2, both of which include cleaning wipes or a spatula, makes the job cleaner and gives you a few extra degrees of headroom over the generic stuff.
Our top picks




As an Amazon Associate we earn from qualifying purchases at no extra cost to you. Ratings are shown as listed on Amazon.
⚡ Save on Your Next PC — Amazon Prime
Prime members get fast free shipping on the systems above, plus early access to Prime Day & Black Friday PC deals. New members get a 30-day free trial.
Watch: How to Apply Thermal Paste Correctly — Video Review
Clean the Old Paste Off First
Never apply new paste over old. Wipe the CPU and cooler base with a lint-free cloth or coffee filter dampened with isopropyl alcohol (90%+), then let them dry completely. A clean, dry surface is essential; leftover dried paste or residue creates gaps that ruin heat transfer no matter how good the new paste is.
Apply the Right Amount
- A pea-sized dot in the center of the CPU is the reliable all-purpose method for most chips.
- For large or rectangular CPUs, a thin line or a small cross helps spread coverage evenly.
- More is not better; excess paste squeezes out the sides, insulates, and can create a mess.
Mount the Cooler Evenly
Lower the cooler straight down onto the CPU without sliding it, so the paste spreads outward from the center under even pressure. Tighten the mounting screws in a diagonal, cross pattern a little at a time, like torquing a wheel, so pressure stays balanced across the whole surface and the paste spreads uniformly.
Verify Temperatures Afterward
Once mounted, boot up and run a short stress test while watching CPU temperatures with monitoring software. Good coverage shows as stable, reasonable load temps. If temps are unexpectedly high, the mount pressure or paste amount may be off, and it is worth pulling the cooler to check rather than living with a throttling chip.
Tips
- Use 90% or higher isopropyl alcohol; lower concentrations leave water residue behind.
- Do not spread the paste by hand; let the cooler’s pressure do it for the most even layer.
- Reapply every two to three years, or whenever you remove the cooler.
- Store the paste tube sealed; dried-out paste applies poorly and performs worse.
Frequently Asked Questions
How much thermal paste should I use?
About a pea-sized amount in the center for most CPUs. The cooler’s mounting pressure spreads it into a thin, even layer. Too much insulates rather than helps.
Should I spread the paste manually?
Usually not. Letting the cooler press it out from a central dot avoids trapping air bubbles. Manual spreading is only worth it on very large CPUs, and even then a thin, careful layer is key.
How often should I replace thermal paste?
Every two to three years for most systems, or any time you take the cooler off. If your temperatures start creeping up over time, dried paste is often the reason.
Does expensive thermal paste make a difference?
A modest one. Premium pastes like Kryonaut or NT-H2 can shave a few degrees over generic paste, which matters most on hot, high-performance chips. For a typical build, any quality paste applied correctly is fine.
Conclusion
Applying thermal paste well comes down to a clean surface, the right amount, and an even mount: wipe off the old paste, place a pea-sized dot, lower the cooler straight down, and tighten screws in a cross pattern. Verify your temperatures afterward, and reapply every couple of years. Nail these basics and your cooler delivers every degree of performance it was built for.